Installing Git on macOS
How to check if you already have git
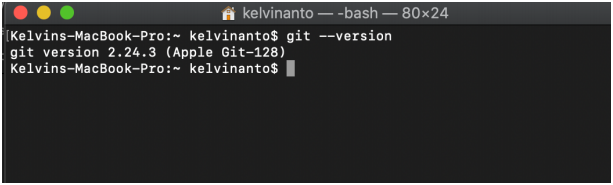
Usually, macOS comes with a version of git pre-installed, called Apple Git at /usr/bin/git. It is recommended to install git if you have only the pre-installed Apple Git. Open Terminal. Type git –-version to see the version of git installed. You will normally see something like this if you don’t have git installed.
Installation
There are three options to install Git on macOS:
- Homebrew (recommended):
-
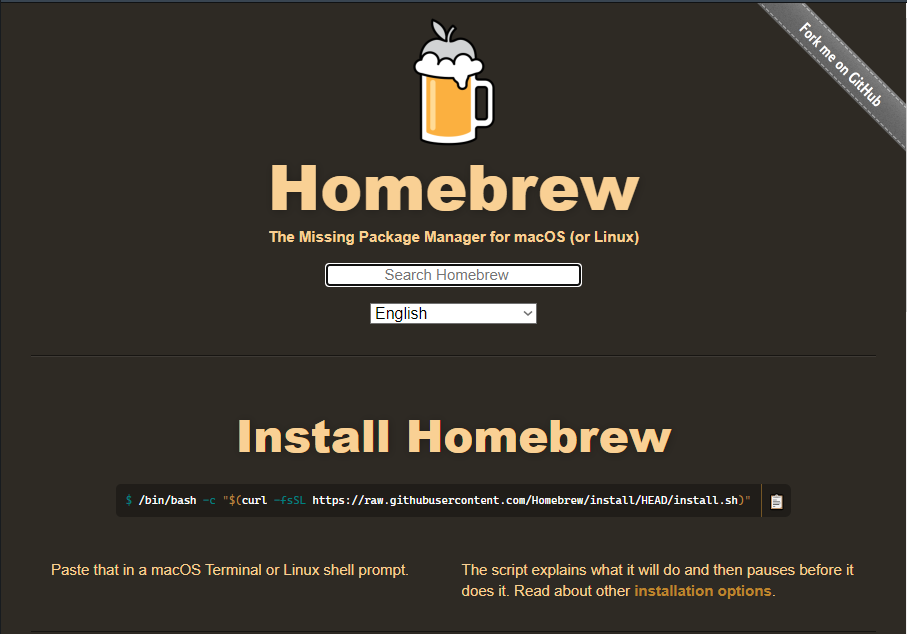
If you don’t already have homebrew, install it from the official website, following the instructions there.
-
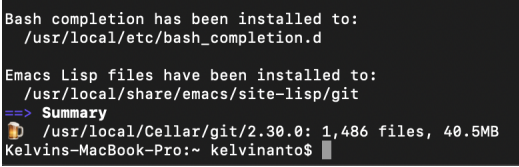
Now install Git by typing
brew install gitin Terminal.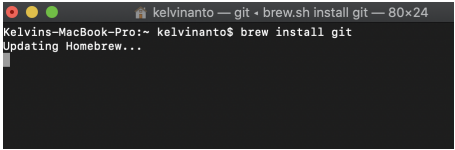
-
- X Code: Xcode is an IDE for developing Apple software, and comes with git installed. To install, see here.
- Binary installer: Refer to the installer’s github page, and its sourceforge page for more instructions on this option.
Verifying your installation
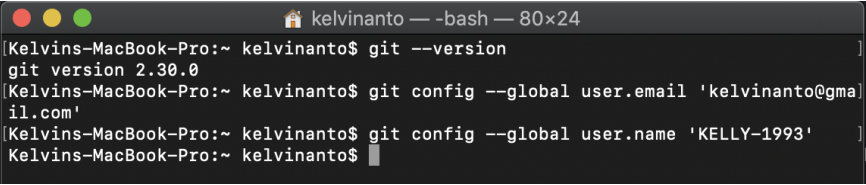
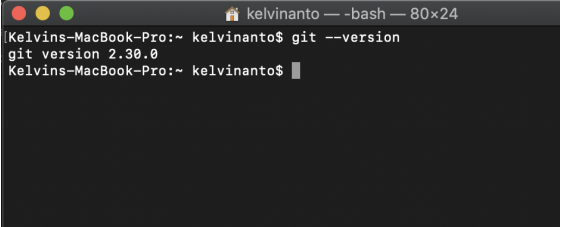
Validate that git has installed properly typing git --version in Terminal. You should see something like this (although the version numbers don’t have to be the same)
Setting up git
Set up your identity by typing the following into Terminal:
git config --global user.name <your name>
git config --global user.email <your@email.com>